VSCode源码编译
VS Code源码编译
帮助1. vscode源码编译记录
帮助2. 从零开始编译VSCode源代码
依赖工具
Git
NodeJS x64 version
>=14.17.4 and < 17yarn
Python(需要node-gyp支持的版本)
注意: Windows 用户将通过安装
windows-build-toolsnpm 模块自动安装 PythonWin10/Win11
1.通过安装Visual Studio Build Tools或Visual Studio Community Edition来安装 Visual C++ Build Environment 。安装的最小工作量是“使用 C++ 进行桌面开发”。
2.打开命令提示符并运行npm config set msvs_version 2019
故障排除
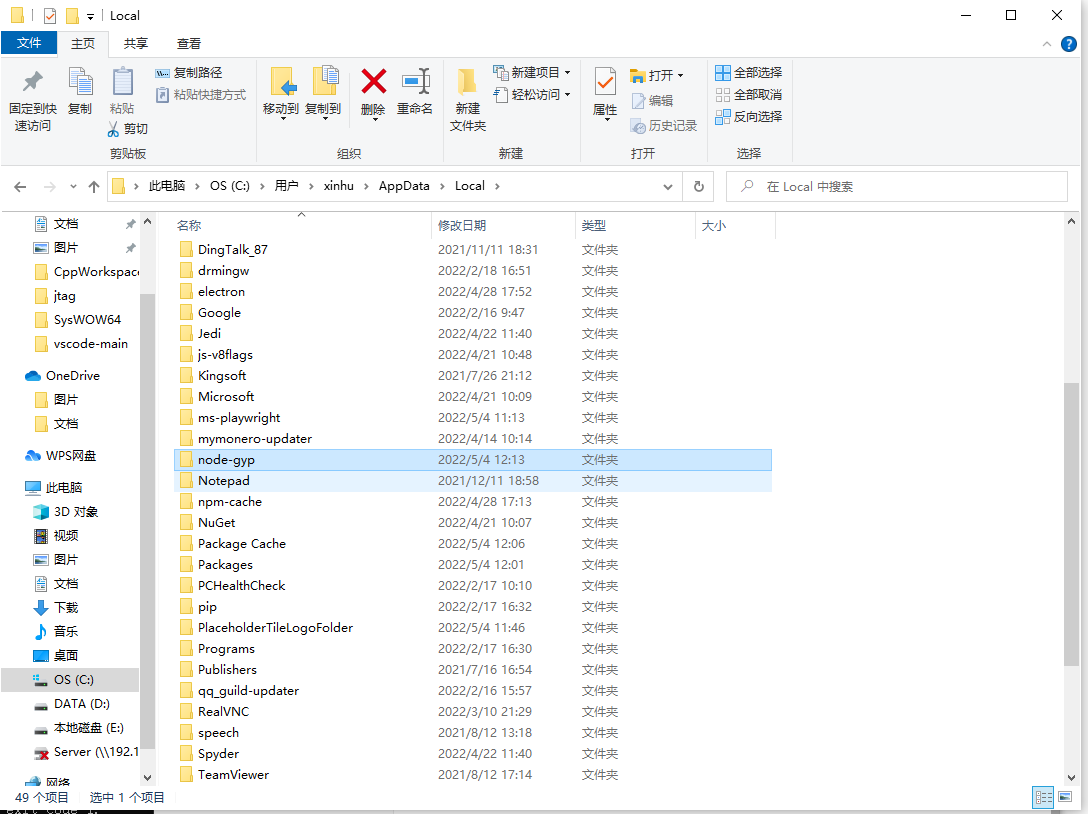
如果出现问题,请先尝试删除~/.node-gyp(或者~/.cache/node-gyp对于 Linux、~/Library/Caches/node-gyp/macOS 或%USERPROFILE%\AppData\Local\node-gypWindows)的内容,然后运行yarn cache clean,然后重试。
如果您在 Windows 或 Linux 64 位系统上并希望编译为 32 位,则需要在运行之前将npm_config_arch环境变量设置为. 这将为 32 位架构编译所有本机节点模块。同样,在为 ARM 进行交叉编译时,设置为.ia32yarnnpm_config_archarm
注意:有关如何在 UNIX 系统上全局安装 NPM 模块而不求助于 的更多信息sudo,请参阅本指南。
如果您安装了 Visual Studio 2019,则在使用默认版本的 node-gyp 时可能会遇到问题。如果您安装了 Visual Studio 2019,您可能需要遵循此处的解决方案
安装工具
Git的安装直接下一步就行,最后Finish就行
nodejs安装也是直接下一步,最后Finish
yarn的安装,运行命令npm install --global yarn
手动安装一下node-gyp 运行命令npm install -g node-gyp
Python3.8.1 安装并配置环境变量
vs_BuildTools安装,选择”使用 C++ 进行桌面开发“,然后等待安装完成
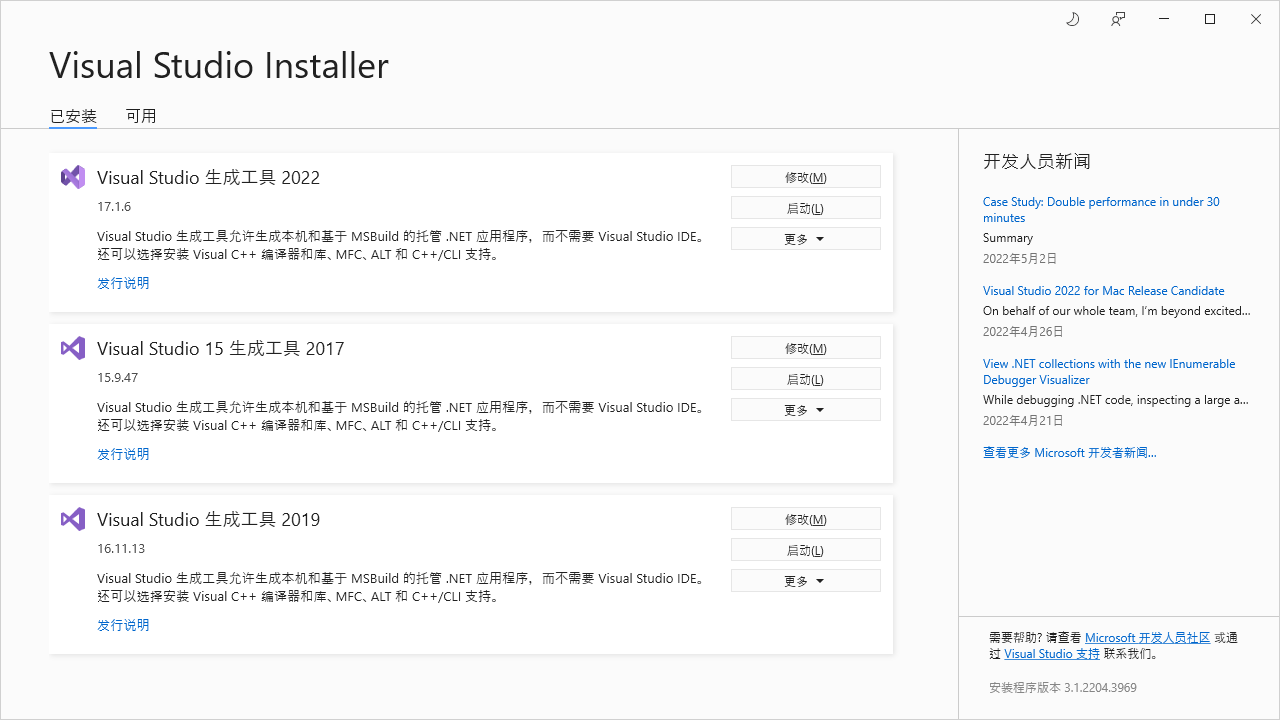
Visual Studio 生成工具2019
源码编译
1 下载源码
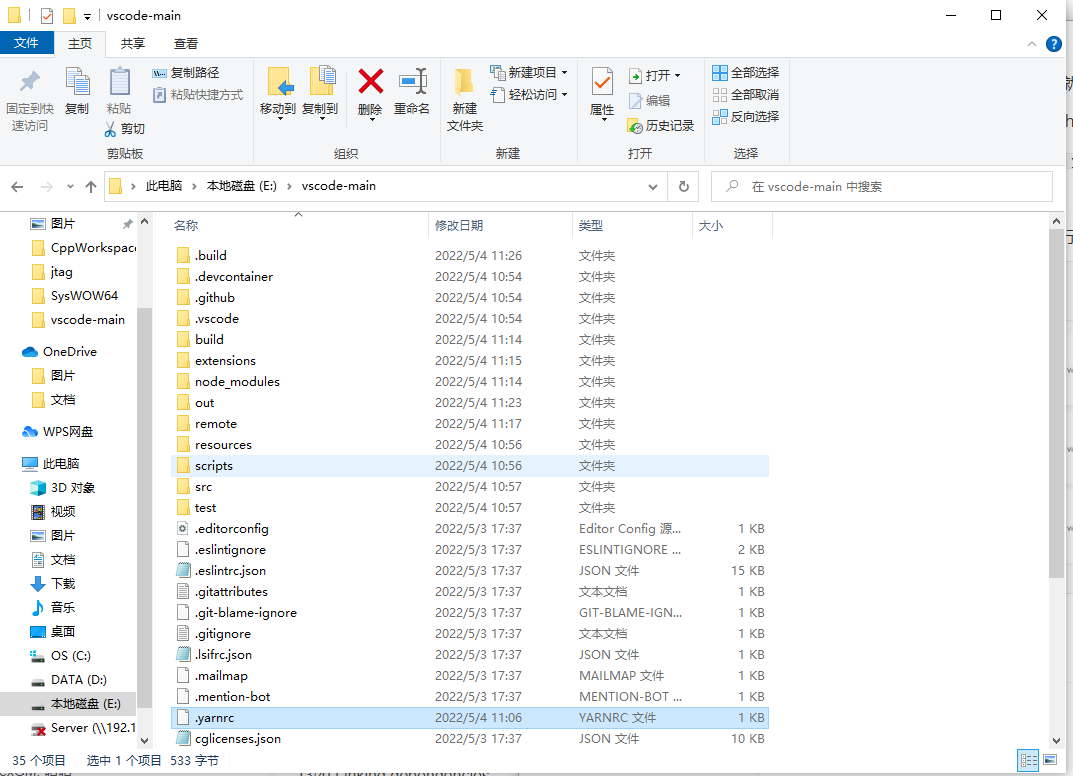
2 .yarnrc内容修改(两个 根目录下的.yarnrc与remote目录下的.yarnrc)
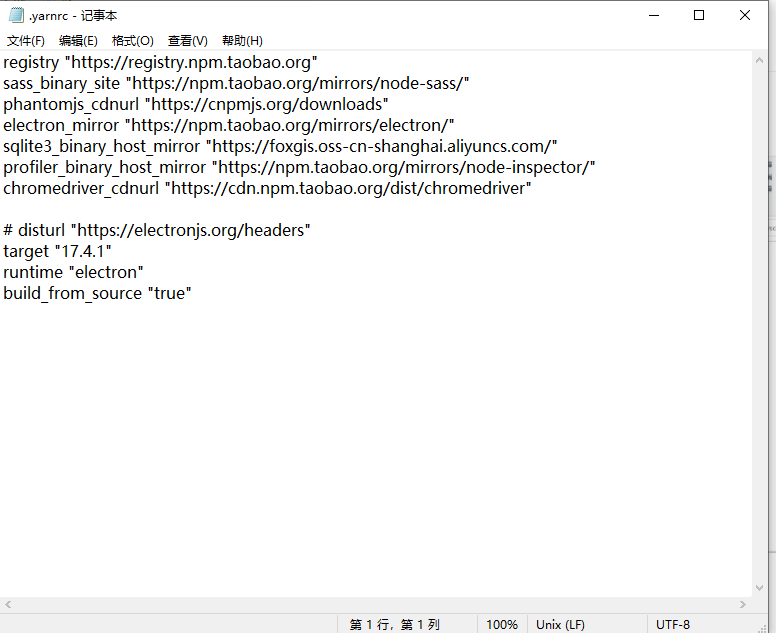
.yarnrc
1 | registry "https://registry.npm.taobao.org" |
3 配置镜像
1 | yarn.cmd config delete proxy |
4 编译运行
在cmd里运行命令yarn或者yarn install,然后等待完成。
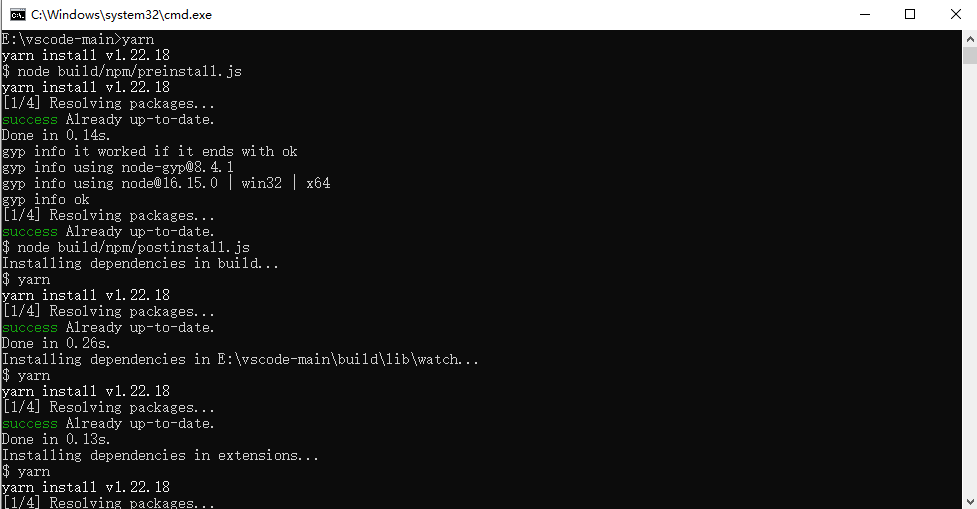
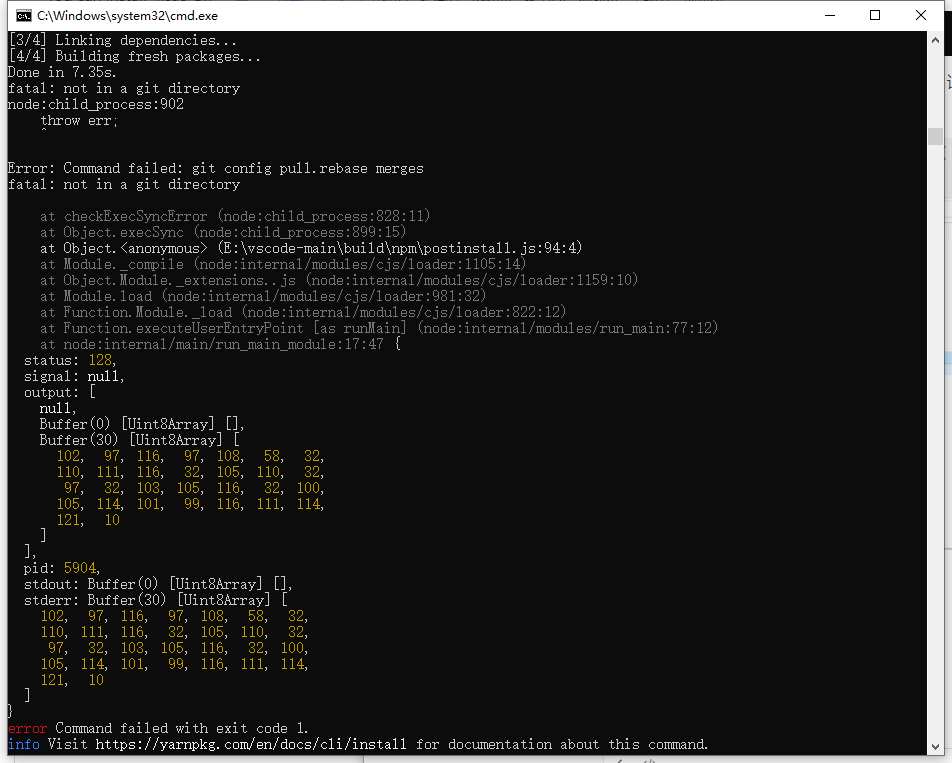
若有报错,自行查询,或者多试几次yarn。记得用故障排除清理掉node-gyp
最后出现这种结果才能继续
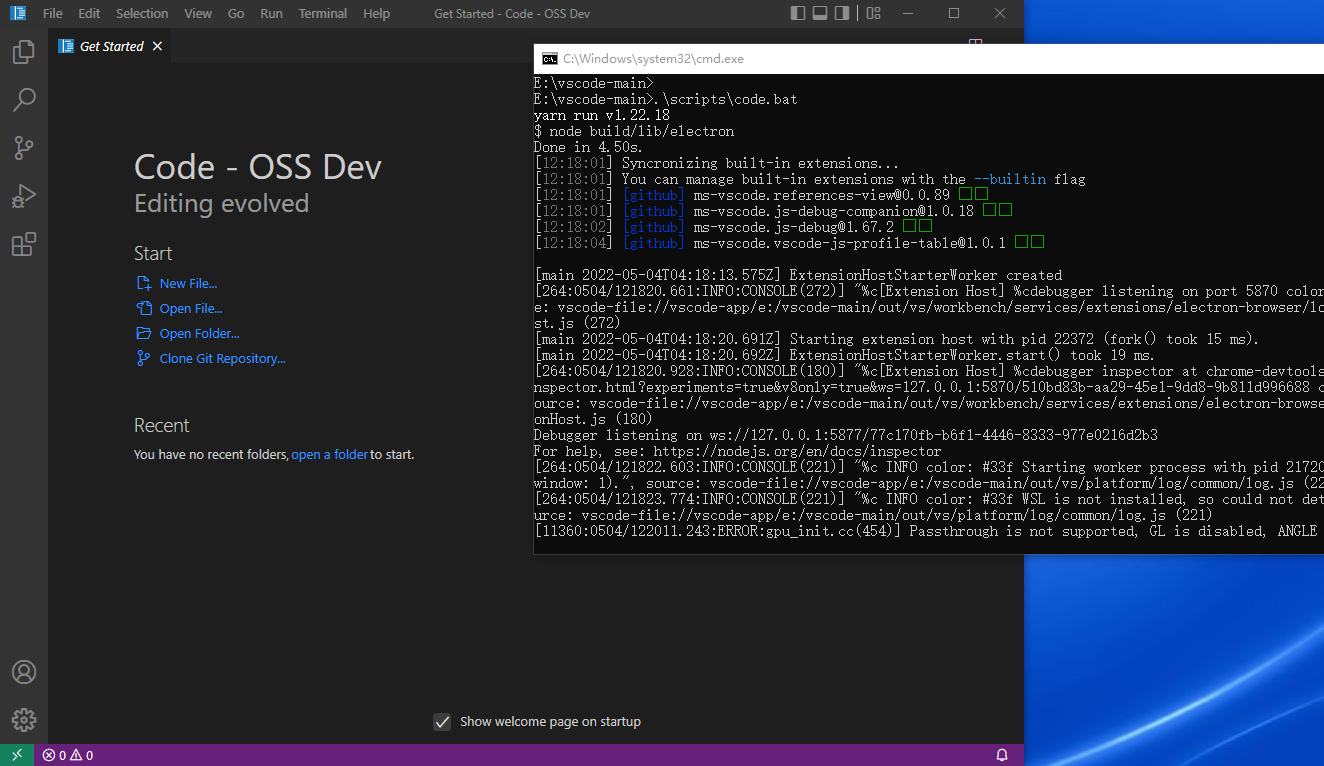
运行.\scripts\code.bat
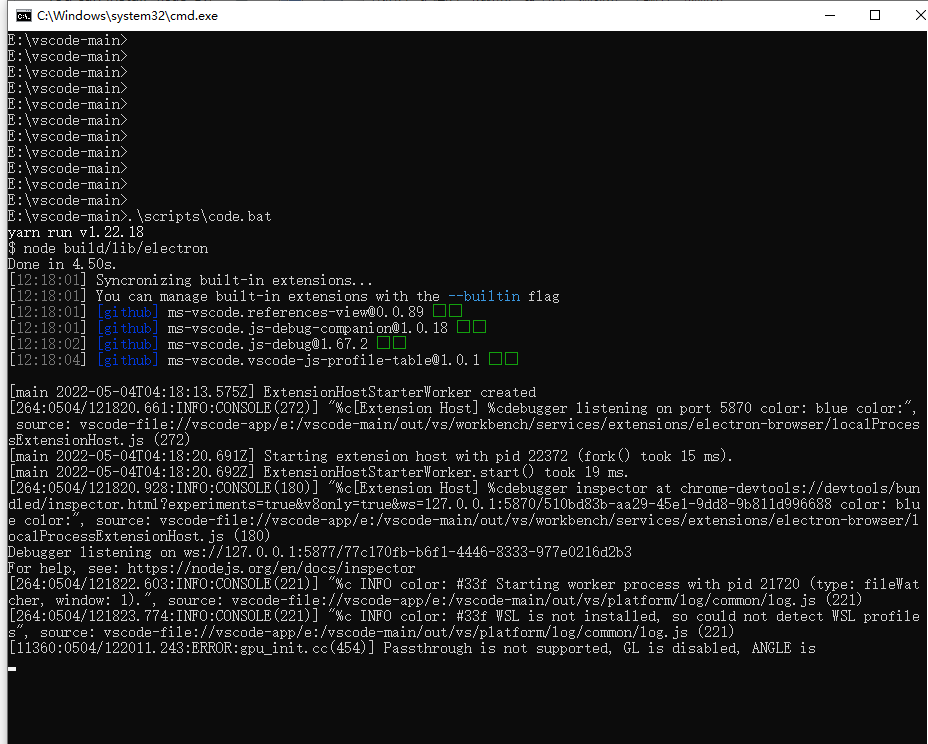
5 成功结果
 微信支付
微信支付 支付宝支付
支付宝支付